Ingredients and Equipment
Before you begin, gather a few basic supplies. You'll need glass jars with lids, a large bowl or crock for mixing, a clean weight to keep vegetables submerged, and a kitchen scale if you have one. For yogurt, you'll need a thermometer and a way to keep the milk warm, such as a yogurt maker, a warm oven, or a heating pad.
The key ingredient for most vegetable ferments is salt. Use non-iodized salt, such as sea salt or pickling salt, because iodine can inhibit fermentation. Filtered or unchlorinated water is best, as chlorine can interfere with beneficial bacteria. You'll also need fresh vegetables, spices, and a starter culture if you're making yogurt.
- Glass jars with wide mouths for easy packing
- Non-iodized salt (sea salt or pickling salt)
- Filtered or unchlorinated water
- Clean weights or smaller jars to keep vegetables submerged
- For yogurt: milk and a starter with live active cultures
Sources: UMass Chan Medical School Center for Applied Nutrition, Harvard Health Publishing
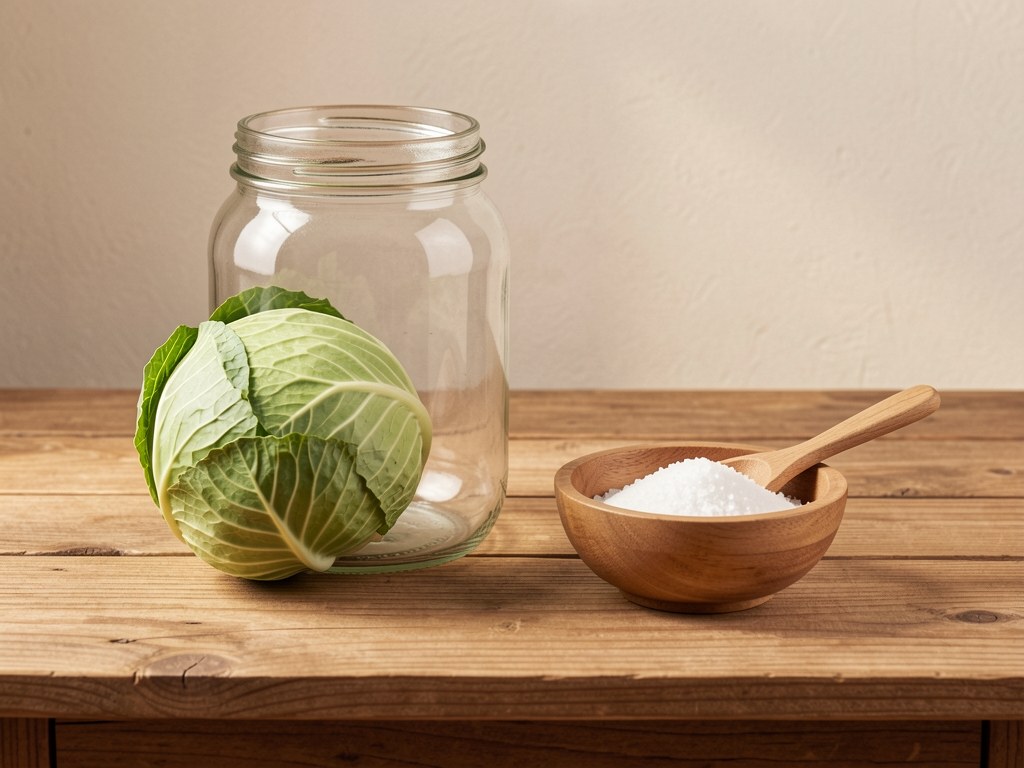
Basic Sauerkraut Recipe
Sauerkraut is a classic lacto-fermented cabbage dish that's a good first project. All you need is cabbage and salt. The salt draws out the cabbage's natural juices, creating a brine that allows beneficial bacteria to thrive.
The steps are straightforward: shred the cabbage, massage it with salt, pack it tightly into a jar, and keep it submerged under its own liquid. Let it ferment at room temperature for a few days to a few weeks, depending on your taste and the temperature of your kitchen.
This simple method produces a crunchy, tangy condiment that you can enjoy alongside meals. It's a wonderful way to add probiotic-rich foods to your diet.
- Shred a head of cabbage (about 2 pounds) and place it in a large bowl.
- Sprinkle the cabbage with about 1 to 1.5 tablespoons of non-iodized salt. Massage the salt into the cabbage for several minutes until it releases enough liquid to form a brine.
- Pack the cabbage into a clean glass jar, pressing down firmly to remove air pockets. Make sure the cabbage is completely submerged in its own liquid.
- If needed, add a bit of filtered water with a little extra salt (about 1 teaspoon per cup of water) to keep the cabbage covered.
- Leave about 1 inch of headspace, then cover the jar with a lid. If using a regular lid, loosen it slightly to allow gases to escape, or use a fermentation lid.
- Place the jar in a cool, dark place, like a pantry, for 3 to 14 days. Check it daily to ensure the cabbage remains submerged.
- Once it reaches your desired tang, transfer the jar to the refrigerator. The sauerkraut will keep for several months.
- Taste and enjoy! Use it as a topping for salads, sandwiches, or alongside your favorite dishes.
Sources: UMass Chan Medical School Center for Applied Nutrition, Everyday Health
Quick Kimchi Recipe
Kimchi is a traditional Korean fermented vegetable dish that's packed with flavor. While there are many variations, a simple version uses napa cabbage, radishes, garlic, ginger, and chili powder. This lacto-fermented food is rich in probiotics and makes a spicy, tangy addition to any meal.
The process is similar to sauerkraut, but with a salt-water soak and a paste of seasonings. It's a bit more involved but well worth the effort.
Here's a quick kimchi recipe you can try at home, using ingredients that are widely available in most grocery stores.
- Cut a head of napa cabbage lengthwise into quarters, remove the core, and chop into bite-sized pieces. Place in a large bowl.
- In a separate bowl, dissolve 1/4 cup of sea salt in 4 cups of filtered water. Pour over the cabbage and let it soak for about 2 hours, turning occasionally.
- Drain and rinse the cabbage well, then taste a piece. It should be lightly salted. If it's too salty, soak it in fresh water for 15 minutes, then drain again.
- While the cabbage drains, make the paste: mince 4 cloves of garlic and a 1-inch piece of ginger. In a small bowl, mix the garlic, ginger, 2 tablespoons of Korean chili powder (gochugaru), and a little water to form a thick paste. You can also add a teaspoon of fish sauce, but that's optional.
- In a large bowl, combine the cabbage, 1 cup of grated daikon radish, and half a bunch of chopped scallions. Add the spice paste and toss to coat everything evenly.
- Pack the mixture into a clean glass jar, pressing down firmly to remove air bubbles and ensure the vegetables are submerged in the liquid released during salting. If needed, add a little salted water (1 teaspoon salt per cup of water) to cover.
- Leave an inch of headspace, cover with a lid (loosened, or use a fermentation lid), and let it sit at room temperature for 1 to 5 days, depending on your taste. Taste daily, starting after day 1, and refrigerate when it's tangy enough.
- Store in the refrigerator, where it will continue to ferment slowly. It's great as a side dish, in rice bowls, or in stir-fries.
Sources: Everyday Health, BrainMD
Homemade Yogurt (Starter and Method)
Yogurt is one of the easiest fermented foods to make at home. All you need is milk and a starter containing live active cultures. You can use store-bought plain yogurt with 'live and active cultures' as your starter, or reserve a few tablespoons from a previous batch.
The process involves heating the milk to kill unwanted bacteria, cooling it to a temperature that encourages the good bacteria, then adding your starter and keeping it warm for several hours until it thickens.
Making yogurt at home allows you to control the ingredients and enjoy a probiotic-rich food that's also a good source of protein and calcium.
- Milk: use whole, low-fat, or non-dairy alternatives like coconut or soy (but adjust method for non-dairy milks, which may need thickeners).
- Starter: plain yogurt with 'live and active cultures' or a store-bought yogurt starter powder.
- Equipment: thermometer, jars or a yogurt maker.
- Heat 1 quart (4 cups) of milk in a heavy-bottomed pot until it reaches about 180°F (82°C). Stir occasionally to prevent scorching.
- Remove the milk from heat and let it cool to about 110°F to 115°F (43°C to 46°C). Use a thermometer to check.
- In a small bowl, whisk 2 tablespoons of plain yogurt with 'live and active cultures' into about 1/2 cup of the cooled milk to temper it.
- Pour the tempered starter back into the main pot and whisk well.
- Pour the mixture into clean jars or a yogurt maker container. Cover with a lid.
- Keep the mixture warm at about 110°F (43°C) for 6 to 10 hours. Fermentation time varies; check after 6 hours and continue until it reaches your desired tanginess. You can use a yogurt maker, or place the jars in a warm oven (turned off) with the light on, or wrap them in a heating pad set on low.
- The longer it ferments, the more tangy it becomes. When it reaches your desired consistency, refrigerate for at least 2 hours before eating.
- Save 2 tablespoons of your homemade yogurt to use as a starter for your next batch, and enjoy with fruits, granola, or in smoothies.
Sources: Everyday Health, BrainMD
Fermented Carrots or Pickles
Fermented carrots and pickles are another easy way to add probiotic-rich foods to your meals. You can use a simple water and salt brine, and add spices like garlic, dill, or chili for extra flavor.
Unlike vinegar pickles, which are shelf-stable but don't contain live cultures, these are lacto-fermented. They need to stay refrigerated and will be effervescent and tangy.
The technique below follows the general method for lactic acid fermentation, and you can adapt it to carrots, cucumbers, or green beans. The key is to keep the vegetables submerged under the brine to create an anaerobic environment that prevents mold. One published variation includes a small amount of vinegar in the brine, but it is not required for a successful ferment.
- For a basic brine, use about 1 to 1.5 tablespoons of sea salt per quart of water; too little may allow unwanted bacteria, while too much slows fermentation.
- Submerge vegetables completely to prevent mold.
- Use non-iodized salt and filtered water for best results.
- Store-bought fermented veggies are often pasteurized and lack live cultures; look for 'naturally fermented' and refrigerated options to get probiotics.
- Choose fresh vegetables: carrots cut into sticks, pickling cucumbers, or green beans.
- Prepare a brine by dissolving 1 to 1.5 tablespoons of sea salt in 1 quart (4 cups) of filtered water.
- Fill a clean jar with your vegetables and any seasonings, such as garlic cloves, fresh dill, or a small piece of jalapeño.
- Pour the brine over the vegetables, making sure they are fully submerged. Use a weight or a smaller jar to keep them down.
- Cover the jar with a lid, loosened to allow gases to escape, or use a fermentation lid.
- Let the jar sit at room temperature for 3 to 7 days, checking daily. You may see bubbles, which is a good sign. Taste after a few days to see if they're tangy enough.
- Once they taste good, refrigerate. They will keep for several months at a cooler temperature, but the longer they sit, the more fermented they become.
- Serve as a snack, add to sandwiches, or chop them into salads.
Sources: Harvard Health Publishing
Flavor Variations and Additions
One of the joys of homemade fermented foods is customizing them to your taste. You can adjust the spices, vegetables, and fermentation time to create unique flavors. Here are some ideas to get you started.
For sauerkraut, try adding caraway seeds, juniper berries, or grated apple. For kimchi, you can use different types of radish, add pear for sweetness, or adjust the amount of chili powder. For pickles, experiment with dill, garlic, bay leaves, or black peppercorns.
You can also combine different vegetables in one jar, like cauliflower and carrots, or green beans with garlic. The possibilities are endless.
Remember that the basic principles remain the same: keep the vegetables submerged, use enough salt, and let time do the work. Don't be afraid to taste and adjust as you learn what you like.
- Add fresh herbs like dill, thyme, or rosemary.
- Use whole spices like mustard seeds, coriander, or fennel.
- Add a little honey or sugar for a milder flavor (but be aware that extra sugar can speed up fermentation).
- Try different types of salt, such as Himalayan pink salt or kosher salt, but avoid iodized salt.
- For yogurt, add vanilla extract, honey, or fruit after it's set.
- For a probiotic boost, use your homemade fermented foods as a base for salad dressings or sauces.
Sources: Harvard Health Publishing, Everyday Health
Troubleshooting and Safety
Fermenting at home is generally safe if you follow a few basic rules. Always use clean equipment, keep the vegetables submerged, and trust your senses—if it smells bad or looks off, discard it.
A common issue is mold, which can appear if vegetables are exposed to air. If you see mold, it's best to throw away the batch. However, a white, yeasty film called kahm yeast is often harmless but can affect flavor; you can skim it off.
Another concern is carbon dioxide buildup. Use a jar with an airlock or loosen the lid daily to let gases escape. Also, store your finished ferments in the refrigerator to slow fermentation and prevent spoilage.
- Always start with clean jars and utensils.
- Keep vegetables submerged under the brine to prevent mold.
- If you see mold, dispose of the batch.
- A white, yeasty film (kahm yeast) is not harmful, but you can remove it if you dislike the taste.
- Burp your jars daily (loosen the lid) to release gas or use an airlock.
- If it smells too sour or has an off odor, discard it.
- Homemade fermented vegetables can be stored in the refrigerator for several months.
- Homemade yogurt lasts about 1 to 2 weeks in the fridge.
- Always use a starter with live active cultures for yogurt.
- Canning fermented foods kills live cultures; for shelf-stable products follow tested canning procedures but expect loss of probiotics.
Sources: Harvard Health Publishing
Frequently asked questions
Is it safe to can fermented foods?
Canning is a heat-based preservation method that kills live bacteria. If you can fermented foods, you lose the probiotic benefits, and the process may alter the texture and flavor. The evidence we reviewed does not provide specific safety guidelines for canning fermented foods. For live-culture benefits, it's best to store fermented vegetables in the refrigerator, where they keep for several months. If you prefer shelf-stable canned products, follow tested canning procedures from reputable sources, but know that the live cultures will be destroyed.
Sources: Harvard Health PublishingWhy is my sauerkraut moldy?
Mold usually appears when the cabbage is not fully submerged in the brine. The brine creates an anaerobic environment that inhibits mold growth. If you see mold, it's safest to discard the batch. To prevent it, always push the vegetables down below the liquid level, and use a weight or a smaller jar to keep them submerged. Also, ensure your jar is properly sealed to keep out oxygen.
Sources: Harvard Health PublishingHow long does homemade yogurt last?
Homemade yogurt typically lasts about one to two weeks in the refrigerator. It's important to store it in a clean, airtight container and always use a clean spoon to avoid contamination. The tanginess may increase over time, but if it develops an off smell or visible mold, discard it.
Sources: Everyday Health, BrainMDCan I ferment without a starter culture?
Yes, for vegetable ferments like sauerkraut or pickles, you do not need a starter culture. The beneficial lactic acid bacteria are naturally present on the vegetables. The salt and water environment selects for these bacteria, and they flourish on their own. However, for yogurt, a starter culture is necessary because milk does not naturally ferment into yogurt on its own. You can use store-bought yogurt with live and active cultures as your starter.
Sources: UMass Chan Medical School Center for Applied Nutrition, Everyday HealthHow much salt do I need for fermented vegetables?
A safe guideline is to use about 1 to 1.5 tablespoons of non-iodized salt per quart (4 cups) of water for a brine, as in the recipes on this page. Too little salt can allow harmful bacteria to grow, while too much can slow fermentation. The research suggests that keeping vegetables submerged in a salt brine is key to safety.
Sources: Harvard Health PublishingSources
- Fermented Foods for Gut Health — UMass Chan Medical School Center for Applied Nutrition
- Fermented foods for better gut health — Harvard Health Publishing
- 7 Gut-Healthy Recipes That Use Fermented Foods — Everyday Health
- Fermented Food Recipes: A Delicious Way to Help Gut Health! — BrainMD